Debugging Pages
Cloudflare Pages 프로젝트의 빌드 오류와 Functions 로그를 디버깅하는 방법을 설명합니다.
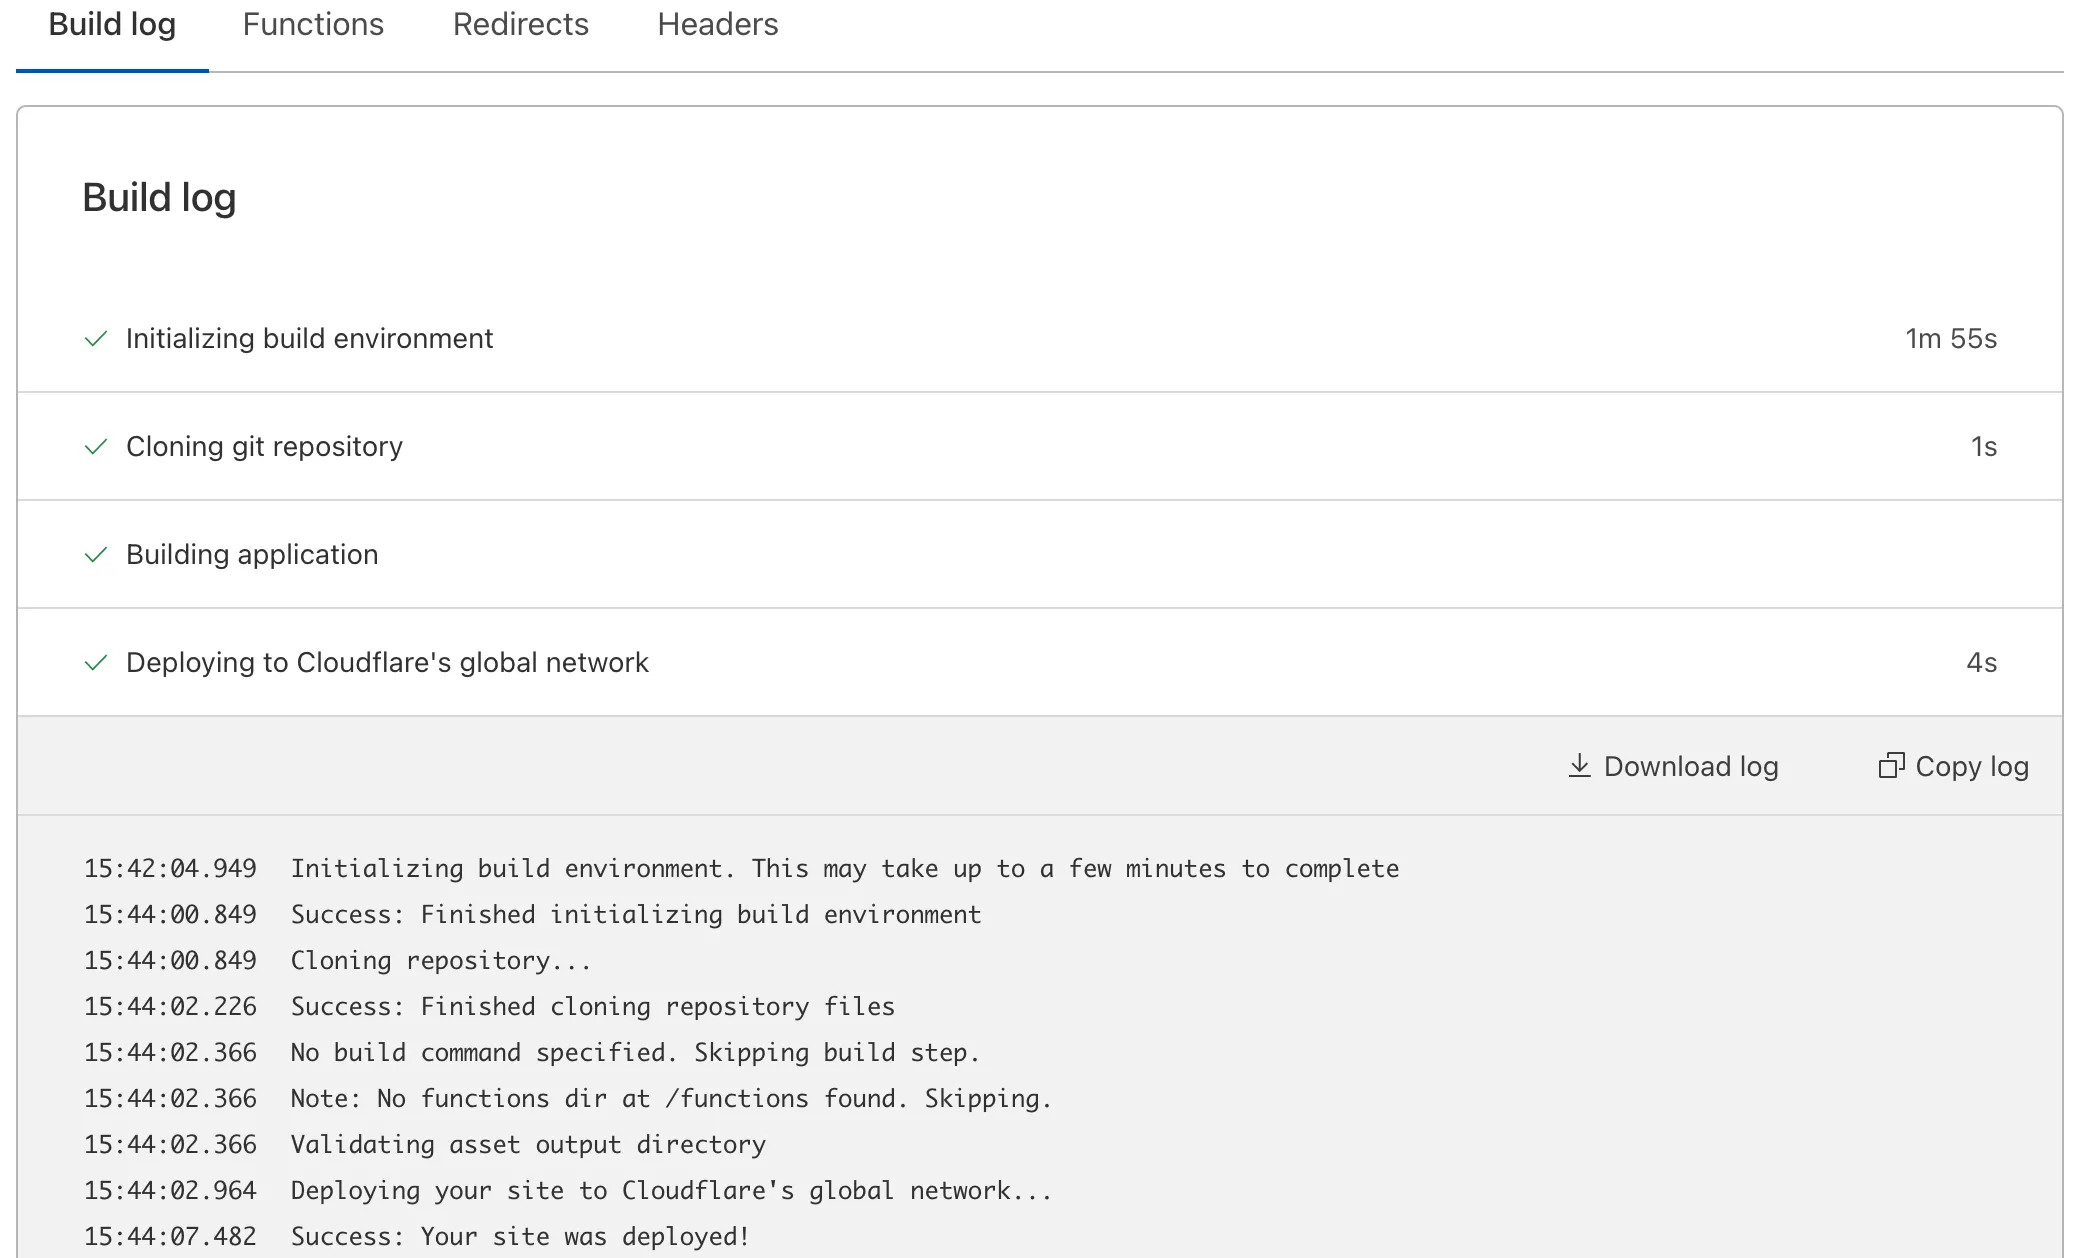
빌드 로그 확인
빌드 오류는 빌드 로그에서 확인할 수 있습니다.
빌드 로그 접근 방법
- Cloudflare 대시보드에서 Workers & Pages 선택
- Pages 프로젝트 선택
- Deployments 탭에서 배포 선택
- View details > Build log 확인
빌드 오류 단계별 분석
빌드 과정은 4단계로 나뉘며, 각 단계에서 발생하는 오류의 원인과 해결 방법이 다릅니다.
1. Initializing Build Environment
빌드 환경 초기화 단계에서 발생하는 오류입니다.
원인:
- Git 연동 설정 문제
- GitHub/GitLab 인증 만료
해결 방법:
- GitHub/GitLab 앱 재설치 및 재인증
- 저장소 접근 권한 확인
2. Cloning Git Repository
저장소 클론 단계에서 발생하는 오류입니다.
원인:
- Git Large File Storage (LFS) 미설정
- 서브모듈 설정 오류
.gitmodules파일의 잘못된 경로
해결 방법:
# .gitmodules 확인cat .gitmodules.gitmodules 파일에서 path와 url이 올바른지 확인합니다:
[submodule "my-submodule"] path = libs/my-submodule url = https://github.com/user/repo.git3. Building Application
애플리케이션 빌드 단계에서 발생하는 오류입니다.
원인:
- 잘못된 빌드 명령어
- 잘못된 출력 디렉토리
- 환경 변수 누락
- 커밋 메시지의 특수문자/이모지
해결 방법:
-
빌드 명령어 확인
Terminal window # 로컬에서 빌드 테스트npm run build -
출력 디렉토리 확인
프레임워크 출력 디렉토리 Astro distNext.js .next또는outReact (CRA) buildVue dist -
환경 변수 확인
- 대시보드에서 필요한 환경 변수가 모두 설정되었는지 확인
NODE_VERSION설정 확인
4. Deploying to Cloudflare’s Network
배포 단계에서 발생하는 오류입니다.
원인:
- Pages Functions 설정 오류
- Cloudflare 네트워크 일시적 문제
해결 방법:
- Functions 코드 문법 오류 확인
- 잠시 후 재배포 시도
Functions 디버깅
Pages Functions의 런타임 오류를 디버깅하는 방법입니다.
console.log 사용
Functions 코드에 console.log를 추가하여 로그를 출력합니다:
export async function onRequest(context) {  console.log(`[LOGGING]: Request from ${context.request.url}`);  console.log(`[LOGGING]: Method: ${context.request.method}`);
  try {    const data = await someOperation();    console.log(`[LOGGING]: Data received:`, JSON.stringify(data));    return new Response(JSON.stringify(data));  } catch (error) {    console.error(`[ERROR]: ${error.message}`);    return new Response("Error", { status: 500 });  }}
실시간 로그 스트리밍
Wrangler CLI 사용
배포된 Functions의 실시간 로그를 확인합니다:
# 프로젝트의 최신 프로덕션 배포 로그npx wrangler pages deployment tail --project-name my-project --environment production
# 특정 배포 ID의 로그npx wrangler pages deployment tail <DEPLOYMENT_ID>
# 보기 좋은 형식으로 출력npx wrangler pages deployment tail --project-name my-project --format pretty
로그 필터링 옵션
# 에러만 필터링npx wrangler pages deployment tail --project-name my-project --status error
# 특정 HTTP 메서드 필터링npx wrangler pages deployment tail --project-name my-project --method POST
# 텍스트 검색npx wrangler pages deployment tail --project-name my-project --search "ERROR"
# 내 IP에서 온 요청만npx wrangler pages deployment tail --project-name my-project --ip self
# 샘플링 비율 설정 (대량 트래픽 시)npx wrangler pages deployment tail --project-name my-project --sampling-rate 0.1
대시보드에서 로그 확인
- Cloudflare 대시보드 > Workers & Pages
- Pages 프로젝트 선택
- Functions 탭 선택
- Logs 섹션에서 실시간 로그 확인
로컬 개발 환경 디버깅
로컬에서 Functions를 테스트하고 디버깅합니다:
# 로컬 개발 서버 실행npx wrangler pages dev dist
# 특정 포트로 실행npx wrangler pages dev dist --port 8788
# 바인딩과 함께 실행npx wrangler pages dev dist --kv MY_KV --d1 MY_DB
로컬 서버에서는 console.log 출력이 터미널에 바로 표시됩니다.
일반적인 오류와 해결 방법
Build 실패: “Command not found”
# 오류sh: npm: command not found해결: NODE_VERSION 환경 변수 설정
NODE_VERSION=18Build 실패: “Out of memory”
# 오류FATAL ERROR: CALL_AND_RETRY_LAST Allocation failed - JavaScript heap out of memory해결: Node.js 메모리 증가
NODE_OPTIONS=--max_old_space_size=4096Build 실패: Output directory not found
# 오류Error: Output directory "build" not found해결: 대시보드에서 올바른 출력 디렉토리 설정
Functions 오류: “Script too large”
원인: Functions 번들 크기가 1MB 초과
해결:
- 불필요한 의존성 제거
- 코드 스플리팅 적용
- 외부 API 서비스 활용
Functions 오류: “Exceeded CPU time limit”
원인: CPU 실행 시간 초과 (무료: 10ms, 유료: 50ms)
해결:
- 복잡한 연산 최적화
- 외부 서비스로 처리 위임
- 캐싱 활용
디버깅 팁
1. 환경별 로깅 레벨
const LOG_LEVEL = globalThis.ENVIRONMENT === 'production' ? 'error' : 'debug';
function log(level, message, data) {  const levels = ['debug', 'info', 'warn', 'error'];  if (levels.indexOf(level) >= levels.indexOf(LOG_LEVEL)) {    console.log(JSON.stringify({ level, message, data, timestamp: new Date().toISOString() }));  }}
export async function onRequest(context) {  log('debug', 'Request received', { url: context.request.url });  // ...}
2. 에러 추적을 위한 Request ID
export async function onRequest(context) {  const requestId = crypto.randomUUID();  console.log(`[${requestId}] Request started`);
  try {    const result = await processRequest(context);    console.log(`[${requestId}] Request completed`);    return result;  } catch (error) {    console.error(`[${requestId}] Error: ${error.message}`);    throw error;  }}
3. 구조화된 로그 출력
function structuredLog(event, data) { console.log(JSON.stringify({ event, data, timestamp: Date.now(), cf: { ray: data.request?.headers?.get('cf-ray'), country: data.request?.cf?.country, } }));}package.json 스크립트
{ "scripts": { "dev": "wrangler pages dev dist", "tail": "wrangler pages deployment tail --project-name my-project --format pretty", "tail:prod": "wrangler pages deployment tail --project-name my-project --environment production --format pretty", "tail:errors": "wrangler pages deployment tail --project-name my-project --status error --format pretty" }}